Location-Based Content for WordPress
Demo
How does the WordPress location-based content work
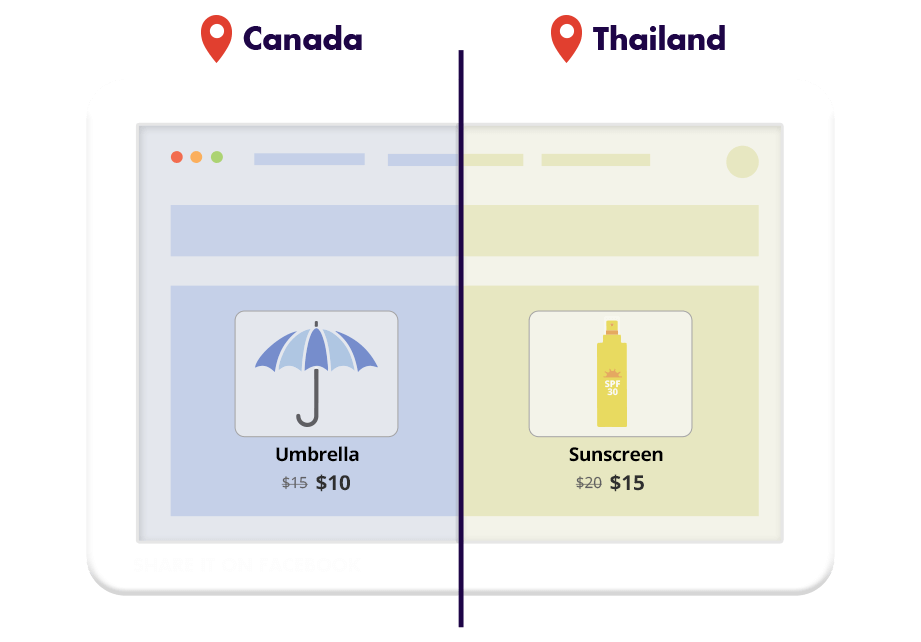
If-So makes it easy to display location-based content by letting you add or replace any element on your pages according to the visitor’s location. You can dynamically change text, titles, menu items, images, videos, buttons, or any other on-page content.
The location-based content works seamlessly with every WordPress page builder.
How do we detect the user’s location?
Location detection is handled through a premium, highly accurate IP-to-location database. When higher precision is needed, the browser’s HTML5 Geolocation API can be used instead or in adittion, allowing address-level accuracy when the visitor grants permission.
No coding or technical setup is required. Simply install the plugin, select the target locations, and define the content to display.
Use cases
Create promotions in specific countries

Highlight different products in chosen locations
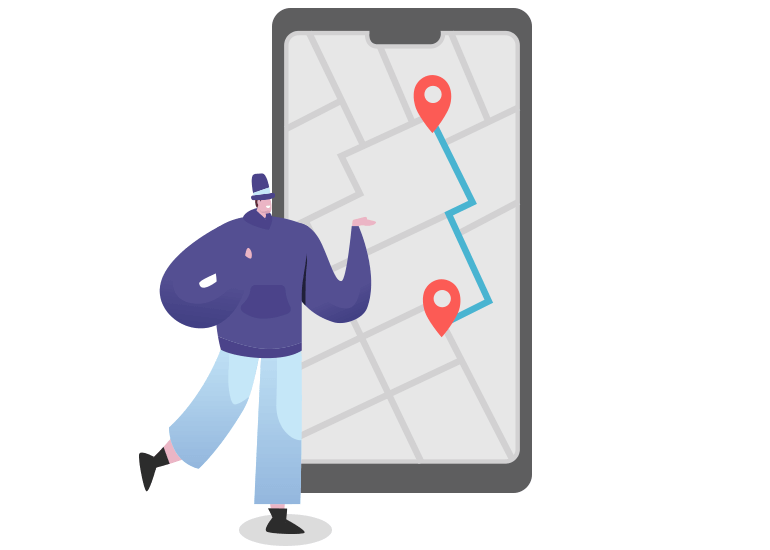
Direct visitors to the closest branch
Show location-based messages to visitors from certain locations

Why If-So for location-based content?
If-So gives you a fast, accurate, and reliable way to deliver location-based content in WordPress without technical overhead. Here’s why it’s the ideal solution:
- No coding or technical skills required
- Works with all caching plugins
- Powered by a highly accurate premium IP database
- HTML5 Geolocation API (in addition to IP-to-location)
- Location stored in cache per session, avoiding repeated checks and improving performance
- Works alongside other geolocation features: Dynamic Keyword Insertion, Manual Location Override, Geo Redirects, geo pop-ups, and more
Step-by-step: How to set up location-based content?
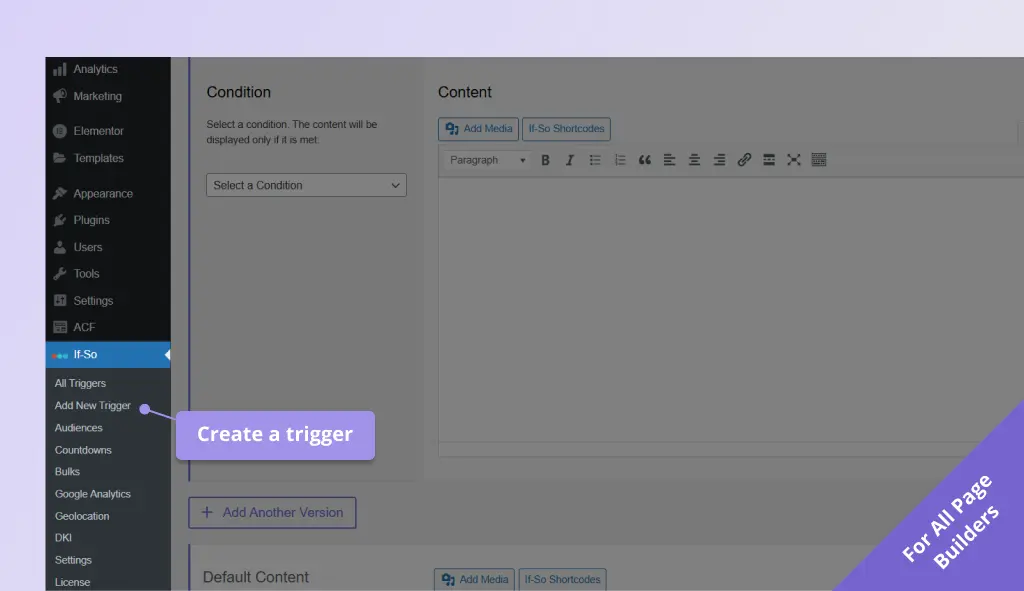
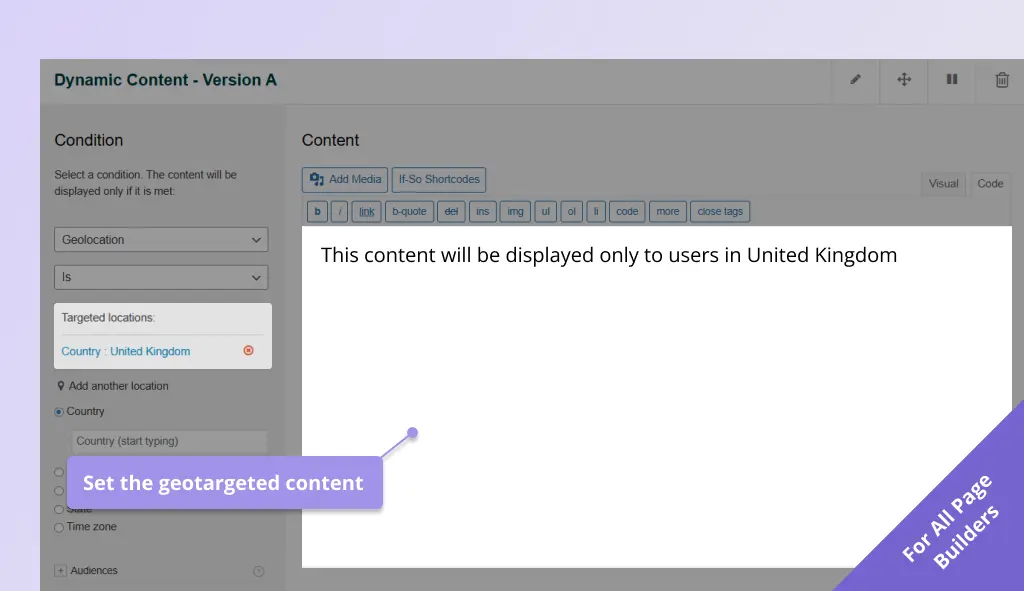
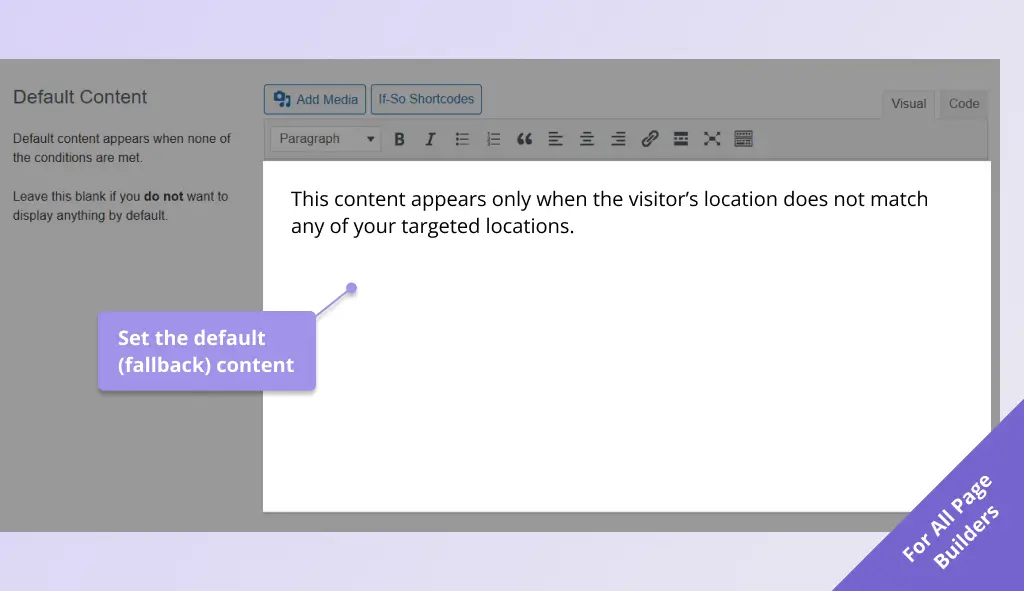
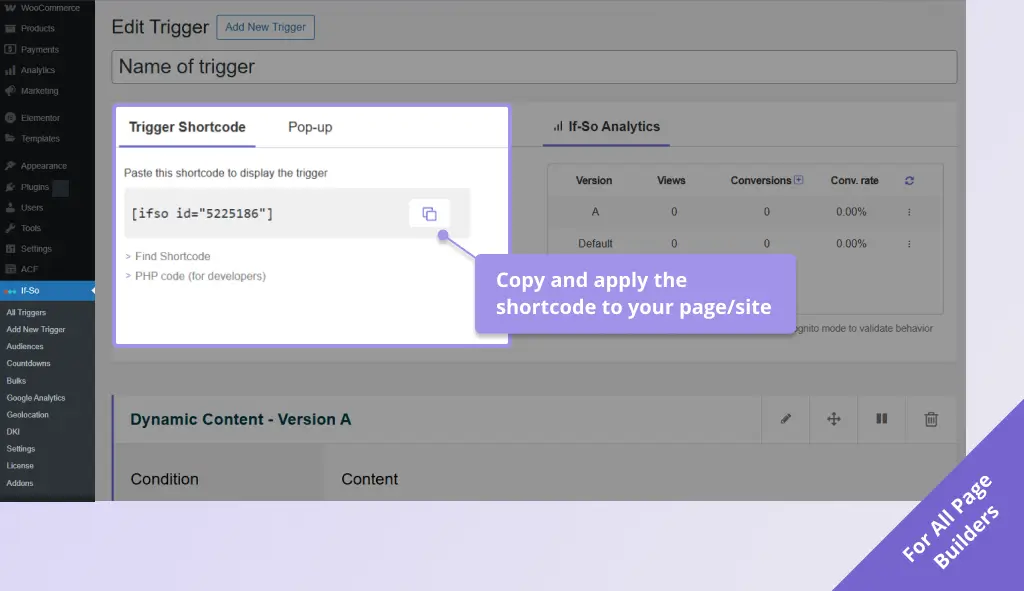
Setup takes about two minutes and no coding: select the geolocation condition, choose the locations to target, then set the content for those locations and the default version everyone else sees.
The step-by-step guide covers every builder, the session limit, and how to test it: See the step-by-step setup →
Monthly Session Limit
Geolocation usage is limited by the number of monthly sessions (it’s the only If-So condition that is limited). The beginning of a session is defined as when a visitor first visits a page with a geolocation trigger. The end of a session is when either a visitor closes the browser, or there have been more than 25 minutes of inactivity (it may vary slightly between browsers).
Click here for the geolocation pricing options.
Screenshots