
Conditional Pop-Ups
Any If-So trigger can be displayed as a conditional pop-up. The pop-up will be shown only if one of the conditions is met.
Pop-Ups and overlays are beneficial tools for converting and reducing bounce rates. They can convey simple information as soon as the page loads, direct customers back to the sales funnel if they attempt to exit, and more.
Combined with the If-So dynamic content capabilities, you can create conditional pop-ups and make sure you show the right message to the right user at the right time.
Creating dynamic pop-ups is an option added by our Trigger Events extensions. Click here to download the extension.
Conditional Pop-Up
If-So provides you the ability to show pop-ups to all site visitors or to set conditional pop-ups that will be displayed based on the vast range of conditions that If-So and its integrations have to offer:
Click here for a full list of the conditions
Use Cases
Conditional pop-ups can be used in many different cases.
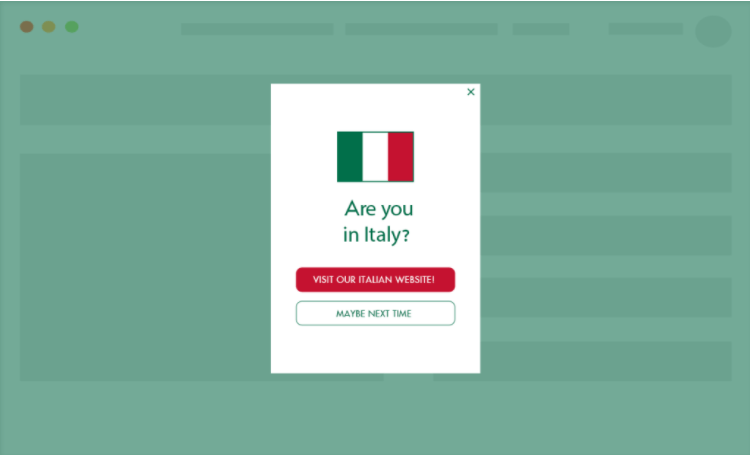
Ask visitors if they would like to browse the site in another language based on their Browser Language or Geolocation.
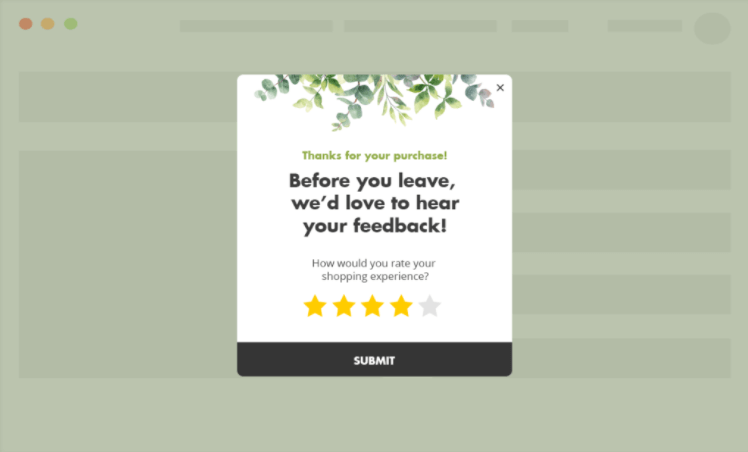
Thank customers and gain feedback after a purchase of a certain product on your site or other WooCommerce conditions.
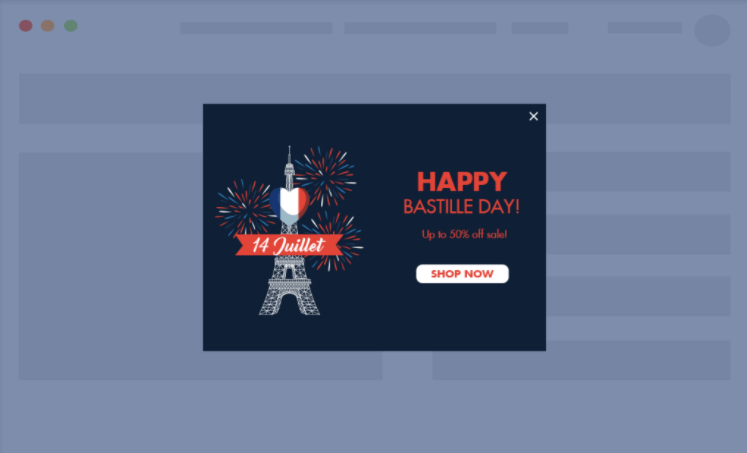
Show special offers on local holidays based on the user’s geolocation.
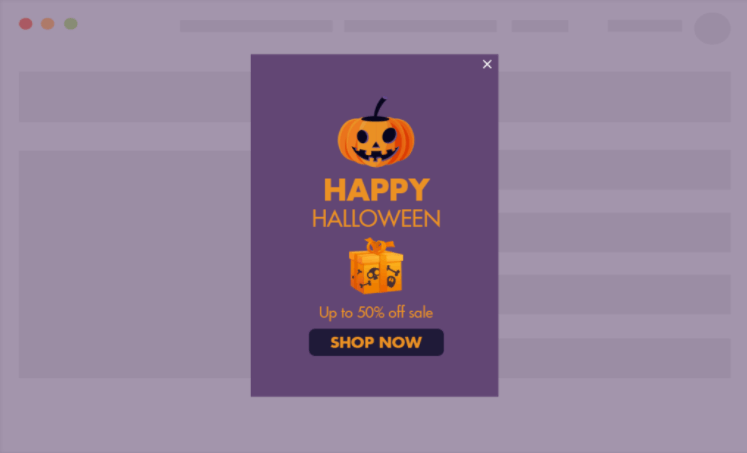
Schedule conditional pop-ups to be displayed during special events.
Optional – Open pop-ups based on the user’s behavior (on-page events)
In addition to displaying the pop-ups based on If-So conditions, you can set on-page conditions for showing the pop-up based on the user’s behavior.
The optional on-page events are:

Click

Scroll

Inactivity

Delay

Exit Intent
- Click
- Scroll
- Inactivity
- Delay
- Exit intent
Learn more about on-page events
Step-by-step: How to create pop-ups using If-So
- Make sure you have the Trigger Events extension installed and activated on your site.
- Create a trigger
- Right below the trigger’s shortcode (after publishing the trigger), click “Display trigger as pop-up”.
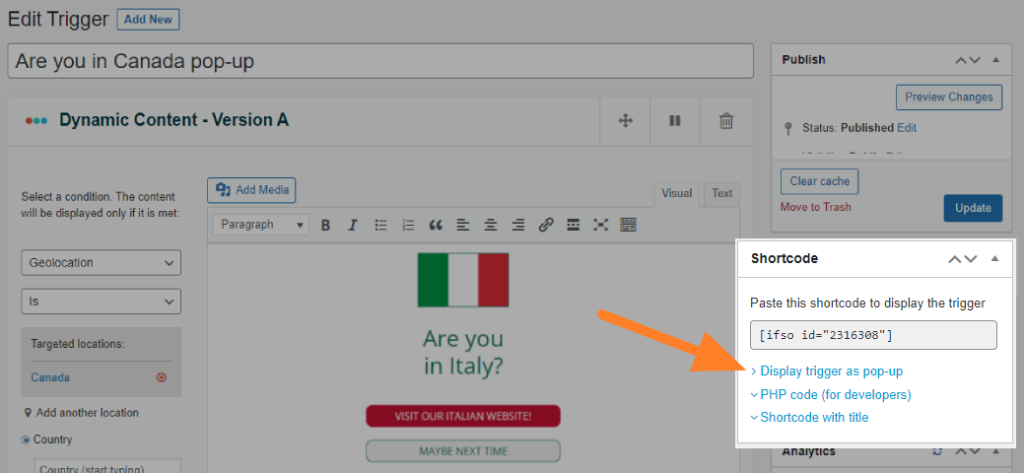
- Optional – select an on-page event to display the pop-up (click/scroll/inactivity/delay/exit-intent). Detailed information on each option can be found below.
- Select a closing button. By default, pop-ups can be closed by clicking on a small X button at the top-right corner of the pop-up or by clicking the background overlay. Keep reading to learn about other options.
- Paste the generated shortcode on any field on your page that accepts shortcodes.

Apply the pop-up across all the website pages
If you want to display the pop-up across all the website pages, go to If-So > Settings, and paste the shortcode into the “Load trigger on all pages” field. Learn more.
Designing the pop-ups
Designing your pop-up content is possible in two ways:
- Use one of our pre-built templates – If-So offers a large number of templates you can customize to your needs. Simply choose a template, customize the text and colors to your needs, and paste the template’s HTML code into the trigger’s version content field. Click here to select one of our pre-built templates.
- Using your page builder – Design your pop-up content on a new page using your page builder. Then, paste the shortcode below into your If-So version (make sure to replace the post ID with the ID of the page you created).
The shortcode will display the page/post content:
[ifso-show-post id="123"]How to design the pop-up content using your page builder
Assigning a CSS class to the pop-up
Add the parameter ‘classname‘ to the pop-up’s shortcode to add a class to the pop-up. Example:
[ifso id="123" ajax="yes" display="modal" classname="YOUR-CLASS-NAME"]Closing the pop-up
Option 1: Click on the background or on the X button (located at the top-right corner).
Option 2: Set a custom closing button – Use the pop-up shortcode generator to set the class or ID of the element you want to use for closing the pop-up.
Limiting the frequency of pop-up display per user
If-So provides maximum flexibility in determining how often you want to display the pop-up to each user and for how long you want to prevent its display. This option is achieved by adding a cookie to the user’s browser, ensuring that the pop-up is not shown as long as the cookie exists.
- Add the following shortcode to the bottom of your pop-up’s content:
[ifso-add-cookie name='prevent-pop-up' value='yes' time='2628288']* ‘2628288’ represents the cookie expiration date in seconds, equivalent to 30 days. Adjust the expiration time according to your requirements.
- Add another version to your pop-up.
- Drag the new version to the top (place it as version A) to ensure its condition is checked first.
– Set the version’s condition to “If > Cookie > Is > Cookie Name: prevent-pop-up ; Cookie Value: yes”.
-Leave the version’s content blank. - Update the trigger.
The result: When the pop-up is displayed for the first time, a cookie with the name “prevent-pop-up” will be added to the user’s browser. The next time the user visits a page with the pop-up’s shortcode, the condition of version A will be met. Since there is no content in version A, the pop-up will not be displayed.